
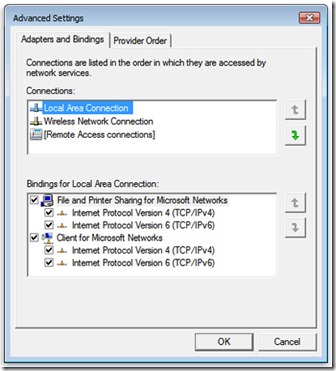
Turns out Windows 10 is missing the old network adapter priority under advanced settings. Remember this?
Noticed my wireless adapter had priority while I was uploading some VHD’s to Azure. When I checked the priority I saw I was missing something.
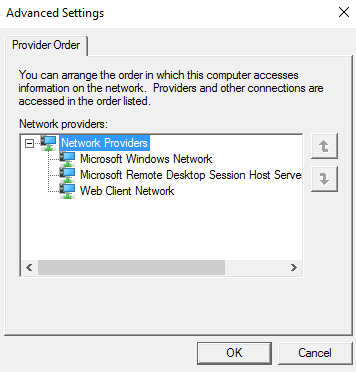
No Adapaters and Bindings tab. After a quick search online I discovered they removed it because it’s not used anymore. To change the priority you need to manually changed the metric under the NIC properties, or through powershell. This is on my Dell XPS 9550 where I have my wireless configured as my Hyper-V adapter and my wired for everything else. I’m not always docked with a wired connection so that’s why I’m using the wireless adapter for Hyper-V.
- Open powershell as administrator.
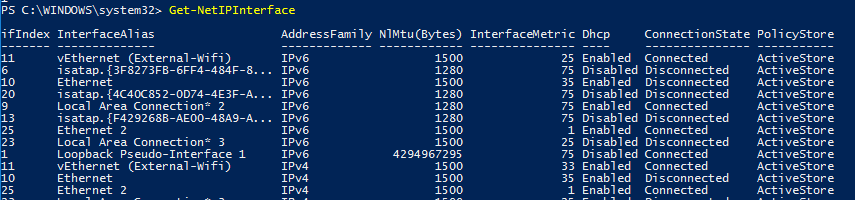
- Run “Get-NetIPInterface” and note the Interface Alias.
- Now use this code below, but change the interfaceAlias to your own wired adapter, or whichever NIC you need to have priority.
[code language=”PowerShell”]
Get-NetAdapter | Where-Object ?FilterScript {$_.InterfaceAlias ?Eq "CHANGEME"} | Set-NetIPInterface ?InterfaceMetric 1
[/code] - That will configure your adapter specified as the InterfaceAlias as the highest weighted NIC. The lower the number the higher priority. You can run it again to configure the priority on each adapter as well, just change the InterfaceAlias in the where.
2 Trackbacks